Whats's Behind the T-Pose?
Stuart LittleThe Secret to Consistent AI Character Creation...

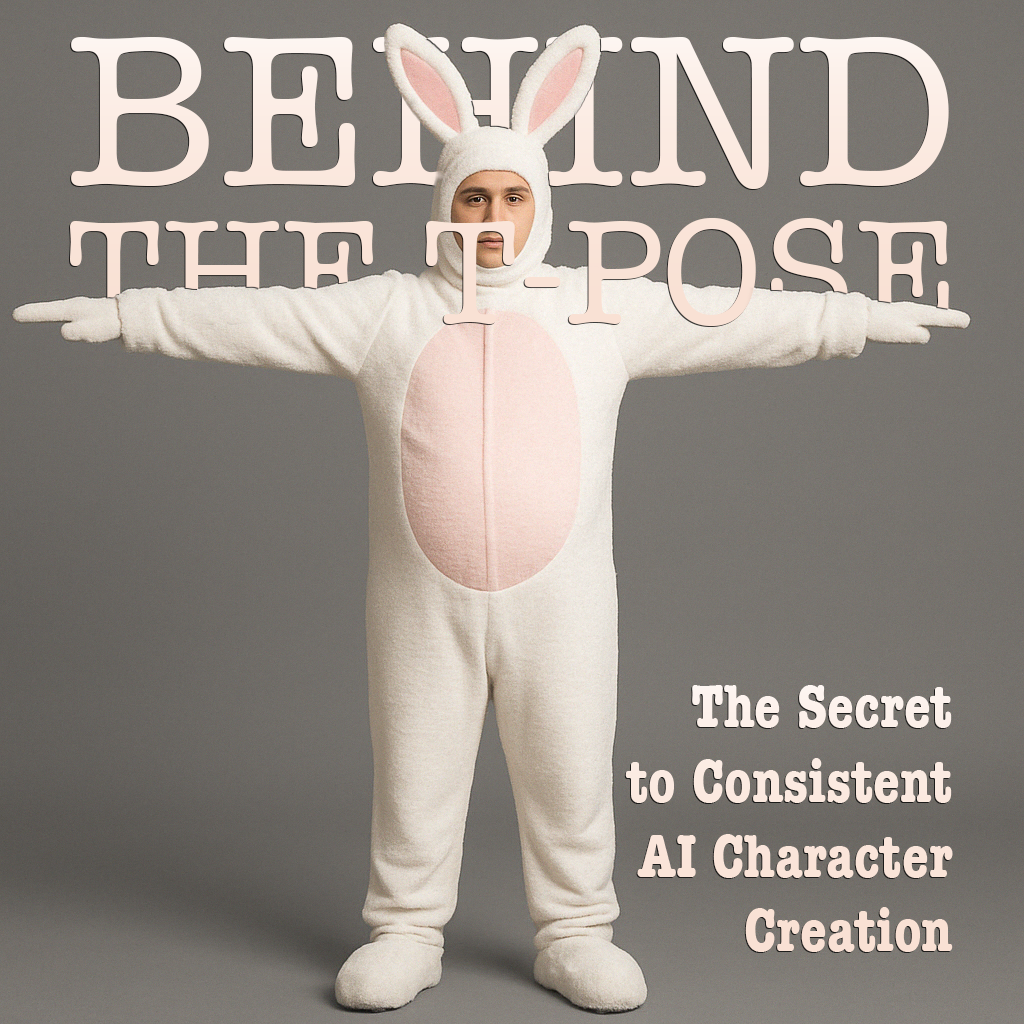
Why do so many AI-generated characters stand with their arms outstretched like mannequins? The answer lies in a powerful concept that bridges 3D modeling, animation, and now—AI filmmaking.
What Is Character Genography?
Character genography is the process of creating detailed, reusable digital characters for use across storytelling, animation, and AI-assisted filmmaking workflows. Whether you're generating assets for a sci-fi short or building an indie game, consistency in your characters is key—and it all starts with their pose.
The Origin of the T-Pose
The T-pose, named for its silhouette (arms extended horizontally, body upright), has long been a foundational element in 3D animation and video game development. It allows animators and riggers to design, skin, and manipulate characters in a neutral state before applying movement or emotion. It dates back to early 3D platforms like Maya and Blender, and was quickly adopted across film and game pipelines due to its symmetry and clarity.
Why the T-Pose Still Matters in AI Workflows
- Consistency: The T-pose offers a clean slate. It helps AI models maintain anatomical accuracy when generating characters across scenes.
- Flexibility: Once the base character is generated in a T-pose, it's easier to adapt it into new scenes or apply transformations (pose, lighting, environment).
- Compatibility: T-posed characters can be rigged for motion or layered into 2.5D animation workflows like those used in Runway, Sora, or for editing composites in LumaFusion, CapCut, Premiere, DaVinci Resolve or Final Cut.
A Two-Step Workflow for Character Creation
Step 1: Generate a Neutral T-Pose Character
Start by designing the character’s visual identity—without background, action, or narrative context. Focus on costume, makeup, lighting, and mood. This T-pose serves as your reusable foundation.
Optional: Generate a Rear Pose for Character Turnarounds
To create a full character turnaround or backplate reference, use this companion prompt focused on the character’s rear view. This ensures costume consistency, silhouette clarity, and accurate spatial proportions.

Step 2: Evolve the Character Using the 4 S’s
Once your base model is created, drop them into a narrative moment using the 4 S’s: Style, Setting, Situation, and Story Role. This transforms your static character into a living, cinematic shot.

Final Thought
Building a library of consistent, reusable characters starts with getting your base pose right. The T-pose isn’t just a quirky modeling standard—it’s a powerful anchor point for genographic precision. With this two-step prompt method, you can go from static to cinematic with clarity, control, and consistency.
Try it yourself: Start with a clean T-pose using Step 1 (and optional rear view), then evolve the character into a dramatic narrative scene with the 4 S’s in Step 2.